
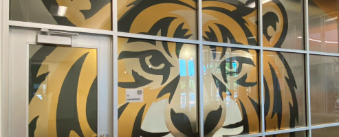
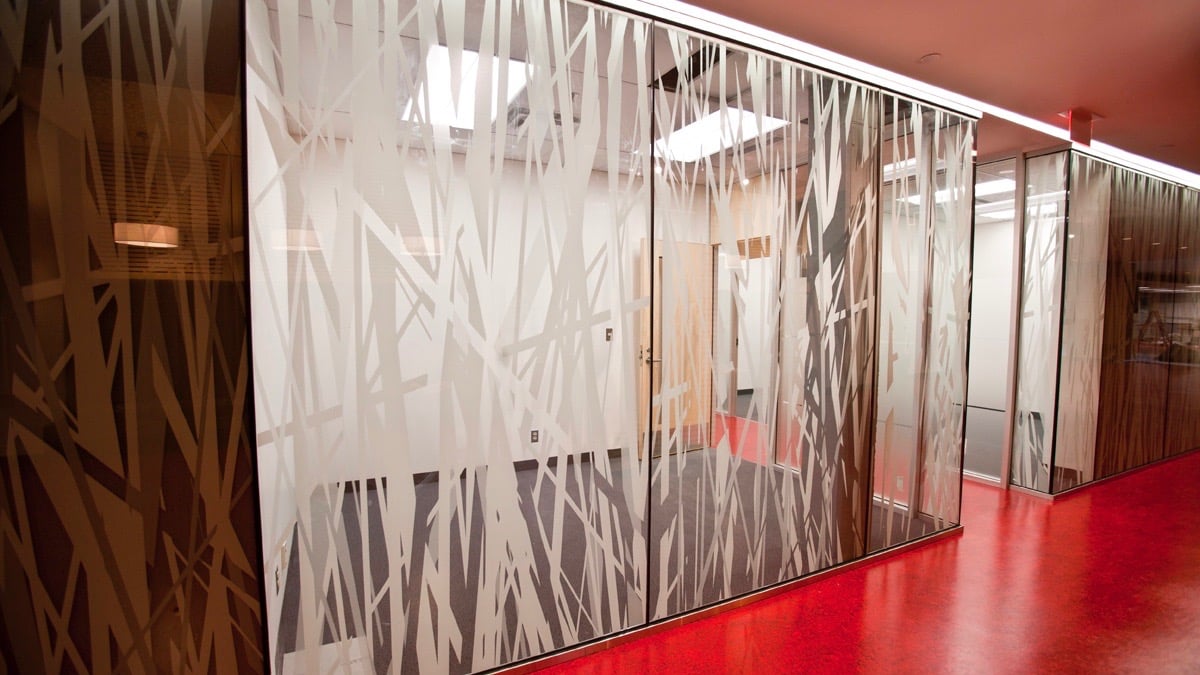
Applying a window graphic can be a great way to outfit your office or work environment with an extra layer of style, branding, and aesthetic appeal. Your window graphic design can be custom made to meet any requirements (technical, creative, or otherwise) that you may have, and can be fully installed by a professional in little to no time at all.
Here’s a simple walkthrough for how easy it is to turn a plain glass surface in the modern workplace into a canvas of design opportunities with digital window graphics:
Applying the Graphic
Before applying a graphic, you’re going to need to clean the office window or glass surface thoroughly with application fluid and a scraper. The fluid will ensure that the glass is clean and ready to receive your window graphic or film, and the scraper will clean the surface without leaving behind any of the particulates or micro-abrasions that paper towel or other tools can create.
We recommend staying away from chemical installation fluids such as Rapid tac because it can set up too quickly and make removal of the LINTEC film much more difficult. Soapy water created with 4 or 5 drops of baby shampoo or unscented dishwashing fluid mixed in a standard 32-ounce spray bottle of distilled water works well. LINTEC sells an installation kit that includes a specially designed installation fluid along with several other installation tools such as the appropriate squeegee. Use of an improper squeegee can result in scratches on the surface of the film during installation.
After the surface is cleaned, you can peel the liner off of your window graphic, revealing the adhesive underlayer that you’ll use to hold the graphic in place. Be sure to spray the adhesive side of the graphic as you remove the liner, as this will allow you to reposition the graphic on the surface as needed, instead of being forced to apply it perfectly on the first try. Spray the window prior to applying the wet film to the glass.

From here, simply apply the graphic film’s wet adhesive to the window. Since you sprayed the adhesive, the graphic remains slidable at this point, so take some time to position it exactly how you want it. Once you’ve aligned it perfectly, spray the exterior surface of the graphic. This will allow the squeegee to slide along the surface without damaging the graphic.
Use the squeegee to remove any excess fluid from behind the film, allowing the adhesive to fully connect to the glass. Begin squeegeeing from the center of the glass with a stroke to the right side of the window. Then go back to the center and squeegee to the left side of the window. Continue to squeegee in smooth straight strokes working from the center out to the edges of the glass. Use overlapping squeegee strokes to prevent snow plow effect which is a line of residual fluid trapped between strokes.
With the graphic fully applied to the glass surface, and all of the installation fluid squeegeed out from behind the film, you can now use the Edge Guide and Razor (included in the LINTEC Application Kit) to cut away any excess film. Finally, wrap your squeegee with a lint-free cloth (this will help prevent scratches) and use it to run over the surface of the applied graphic and smooth out any lingering bubbles and wrinkles. After this, all you have to do is let the window graphic settle in and dry.
Depending upon the environment it can take up to a week for the film to completely dry out. Once it’s dried, you’ll have a stunning window graphic that you, your coworkers, and your customers will appreciate for years to come. Soapy water is highly recommended for cleaning of the film. Harsh chemicals such as Windex can attack the adhesive on the edges of the film leading to edge lifting over time.
A Professional Edge
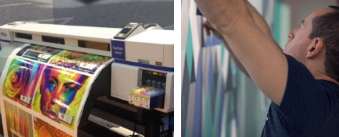
As simple as the installation process, it’s still important that you call in a certified Lintec installer to see the application through to completion. These experts have a lot of experience with these products and know how they act and react to the environment better than almost anyone else. This wealth of experience will go a long way toward ensuring that your finished window graphic is nothing less than a spectacular, long-lasting addition to your work environment.
